Product updates – Compatibility with the WooCommerce High Performance Order Tables (HPOS) feature
The Aelia plugins are now compatible with WooCommerce High Performance Order Storage (HPOS) feature
We are happy to announce that, starting from the 11th of July, we will be releasing an updated version of all our plugins, which we tested for compatibility with the new HPOS feature provided by WooCommerce.
What is the HPOS feature?
Ad described in the WooCommerce documentation:
High-Performance Order Storage (HPOS) also previously known as “Custom Order Tables” is a solution that provides an easy-to-understand and solid database structure – specifically designed for eCommerce needs. It uses the WooCommerce CRUD design to store order data in custom tables – optimized for WooCommerce queries with minimal impact on the store’s performance.
This new feature aims at improving the performance of the checkout page, as well as the management of orders and generation of reports. Behind the scenes, the HPOS feature relies on new database tables that contain order data, structured in a more efficient way than the “legacy” post tables used by WordPress.
How does the HPOS feature affect the Aelia plugins?
Most of our plugins have been compatible with the HPOS feature for a while, as they rely on the functions provided by WooCommerce to access order data. These functions provide an abstraction layer, which ensures that plugins that call them will receive the expected data once the HPOS feature becomes the standard. We ran a series of tests, to be on the safe side, and we were able to confirm that the logic in our plugins works just fine with the new feature, as well as the legacy tables. We didn’t have to make significant changes to most of our solutions.
The most complex of our plugins, the Aelia Currency Switcher, required more work. That plugin is tightly integrated with the WooCommerce core, and, due to some design choices made to improve its performance, it had to access the database directly in a couple of cases. We rewrote the sections of the plugin that were affected by the upcoming changes and we implemented a fallback mechanism for sites that use the legacy tables. The switch between the two mechanisms is completely transparent to the user, and it occurs automatically when the HPOS feature is enabled or disabled. Thanks to this new architecture, the Currency Switcher is now compatible with the HPOS feature, while still retaining full compatibility with the legacy order tables.
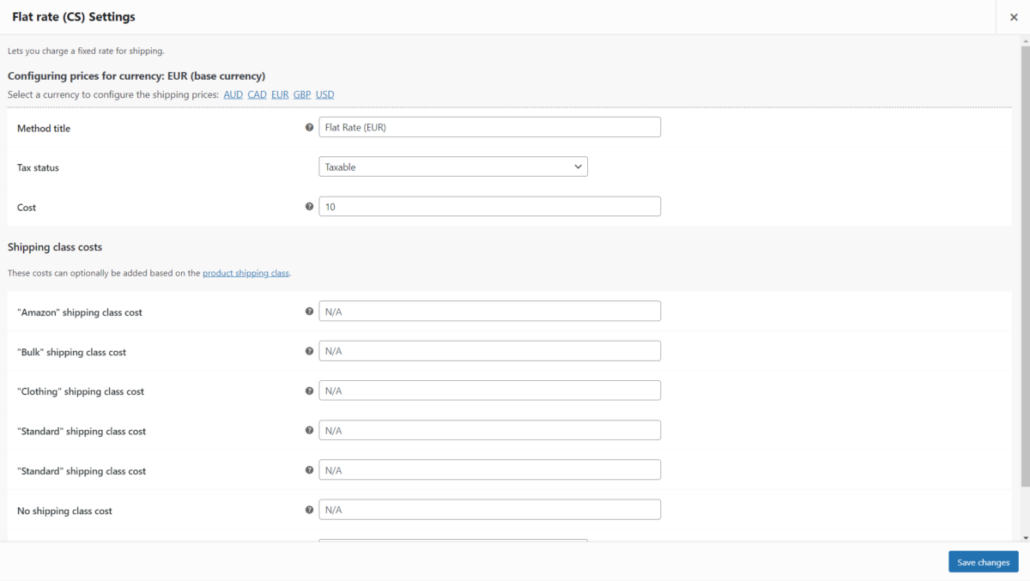
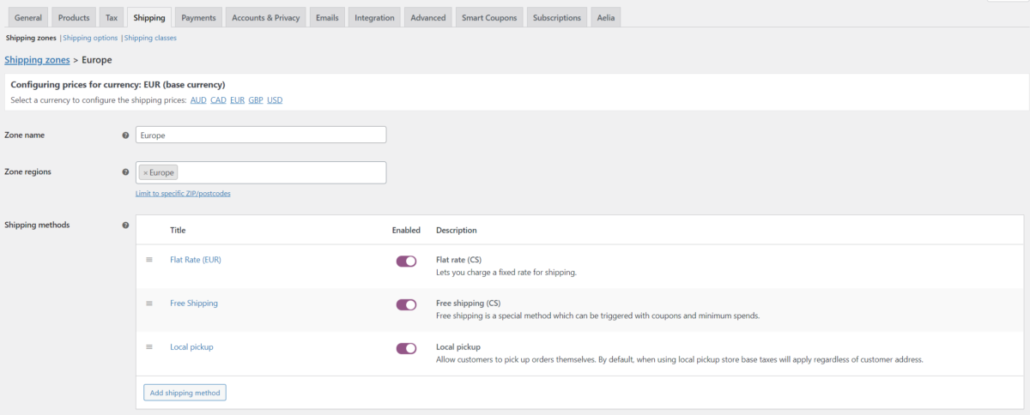
Screenshots
Below you can find a few screenshots showing a couple of changes in the Aelia Currency Switcher interface. Although minor, they were an important step to improve the user experience and to ensure compatibility with the new pages (Edit Order, Orders List, Reports) introduced by the HPOS feature.
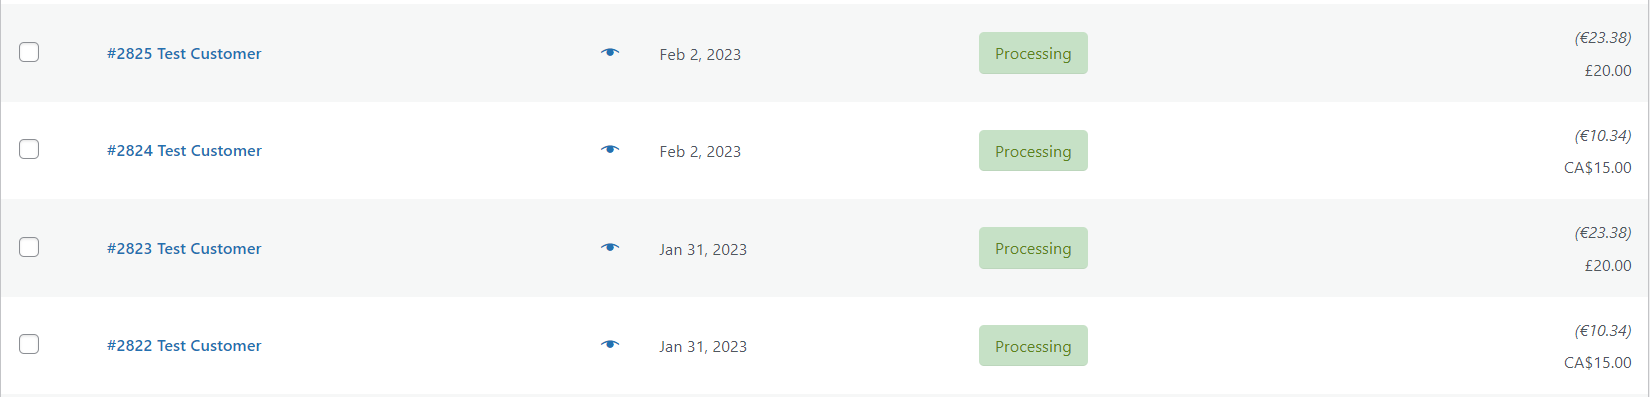
The new Orders List page shows the order totals in the original order currency and in the shop’s base currency, just like the legacy page did.

The Currency Switcher now offers a simple interface to import the order data into the sales reports and analytics.

We rewrote the installation process to run in the background and process the data more efficiently.

The new installer included in the Currency Switcher relies on the robust Action Scheduler provided by WooCommerce.
What are the steps to enable the HPOS compatibility in the Aelia plugins?
The new versions of our plugins will enable the HPOS compatibility automatically, as soon as you install them. All our plugins retain full backward compatibility with the legacy order tables.
When will the updates become available?
As anticipated, we started rolling out the updates for our plugins on the 11th of July. You will see a notification in your WordPress dashboard when the new version of a plugin becomes available for your site.
💡 Important
The HPOS feature has been available since WooCommerce 7.1 and it changed slightly since its first release. Our tests indicate that the new feature is stable, and that our plugins work fine with it. However, we always recommend to test all the updates on a staging copy of your site first. We also recommend to take a full backup of your live site before enabling that feature on it, just to have an additional “safety net” in case of unexpected issue. If you encounter any issue, or come across an edge case scenario, please reach out to us, and we will look into it as soon as possible.
Conclusion
This new update will help your WooCommerce shop grow, thanks to the improved performance. The Aelia plugin will integrate seamlessly with the new High Performance logic and offer a smooth experience to both you and your customers.
Any questions?
As always, if you have any questions, or need assistance using our solutions, please feel free to contact us. We will be happy to assist you.
The Aelia Team